Background
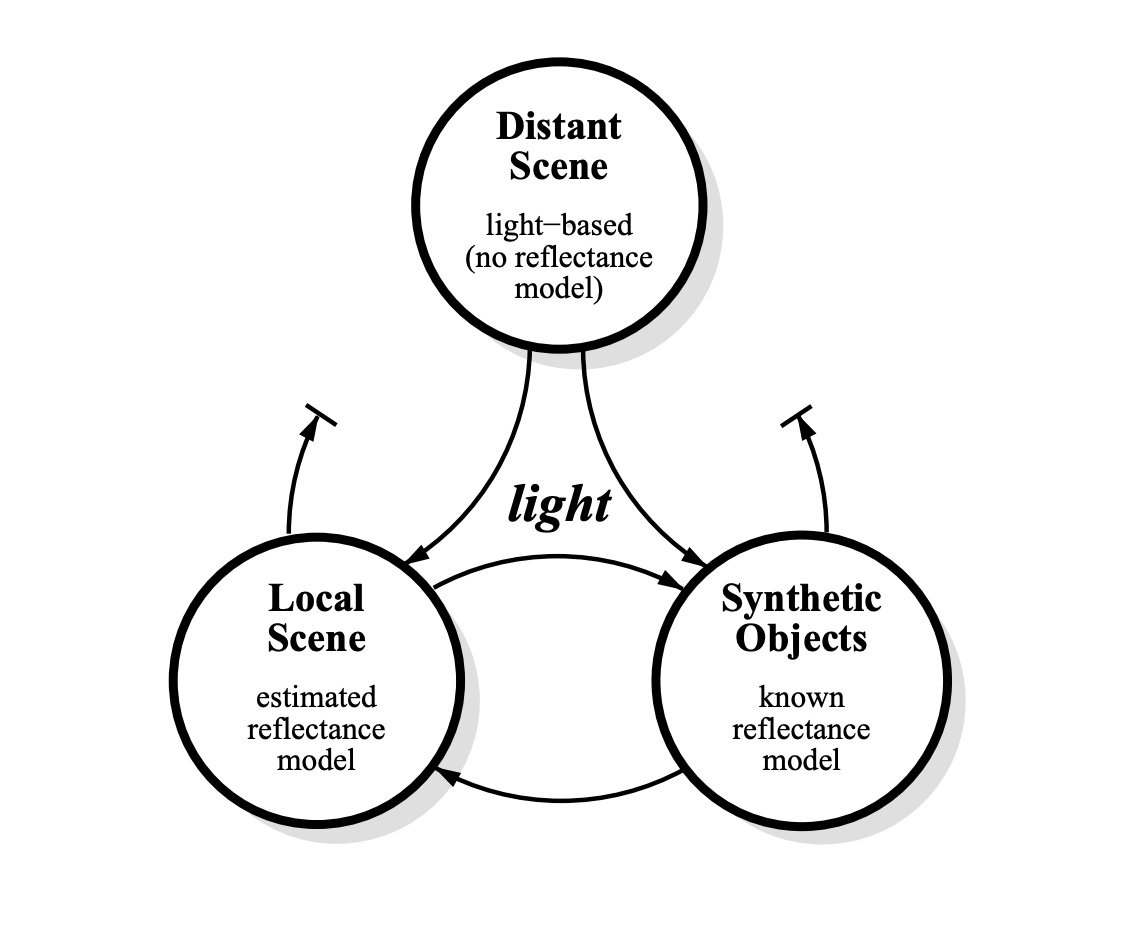
Our project is based on “Rendering Synthetic Objects into Real Scenes: Bridging Traditional and Image-based Graphics with Global Illumination and High Dynamic Range Photography“, a 1998 paper by Paul Debevec. This paper, at the time, presented a state of the art method and lead to a plethora of further work in the field. Obviously, applications of rendering synthetic objects into real scenes is a very important application of computer graphics; however, the difficulty of the task lies in the fact that objects must be lit consistently with the surfaces around them. Like the paper, we use a high dynamic range image-based model of our scene to illuminate the objects. We break the scene up into three different components: the distant scene, the local scene, and synthetic objects. The distant scene is not of much concern, since it is assumed to be photometrically unaffected by the addition of new objects. Most of our attention is paid to accurately simulating the way that light plays between the local scene and synthetic objects.
|
Method
The first part of this project consisted of attaining an EXR environment map. In order to do this, we first took the necessary HDR images of various scenes, using a light probe to capture all of the environment light. As previously discussed, we used a stainless steel mirrored ball sphere as our light probe which we ordered online. Then, we chose our scene to be the desk area of one of our team member's bedroom. Twelve pictures were taken of the same scene, each with a different exposure. Once we had these images of the scene and light probe, we were able to do a polar to equirectangluar mapping to create an EXR environment map. Finally, we created an algorithm to visualize response curves, and did tone mapping for viewing.
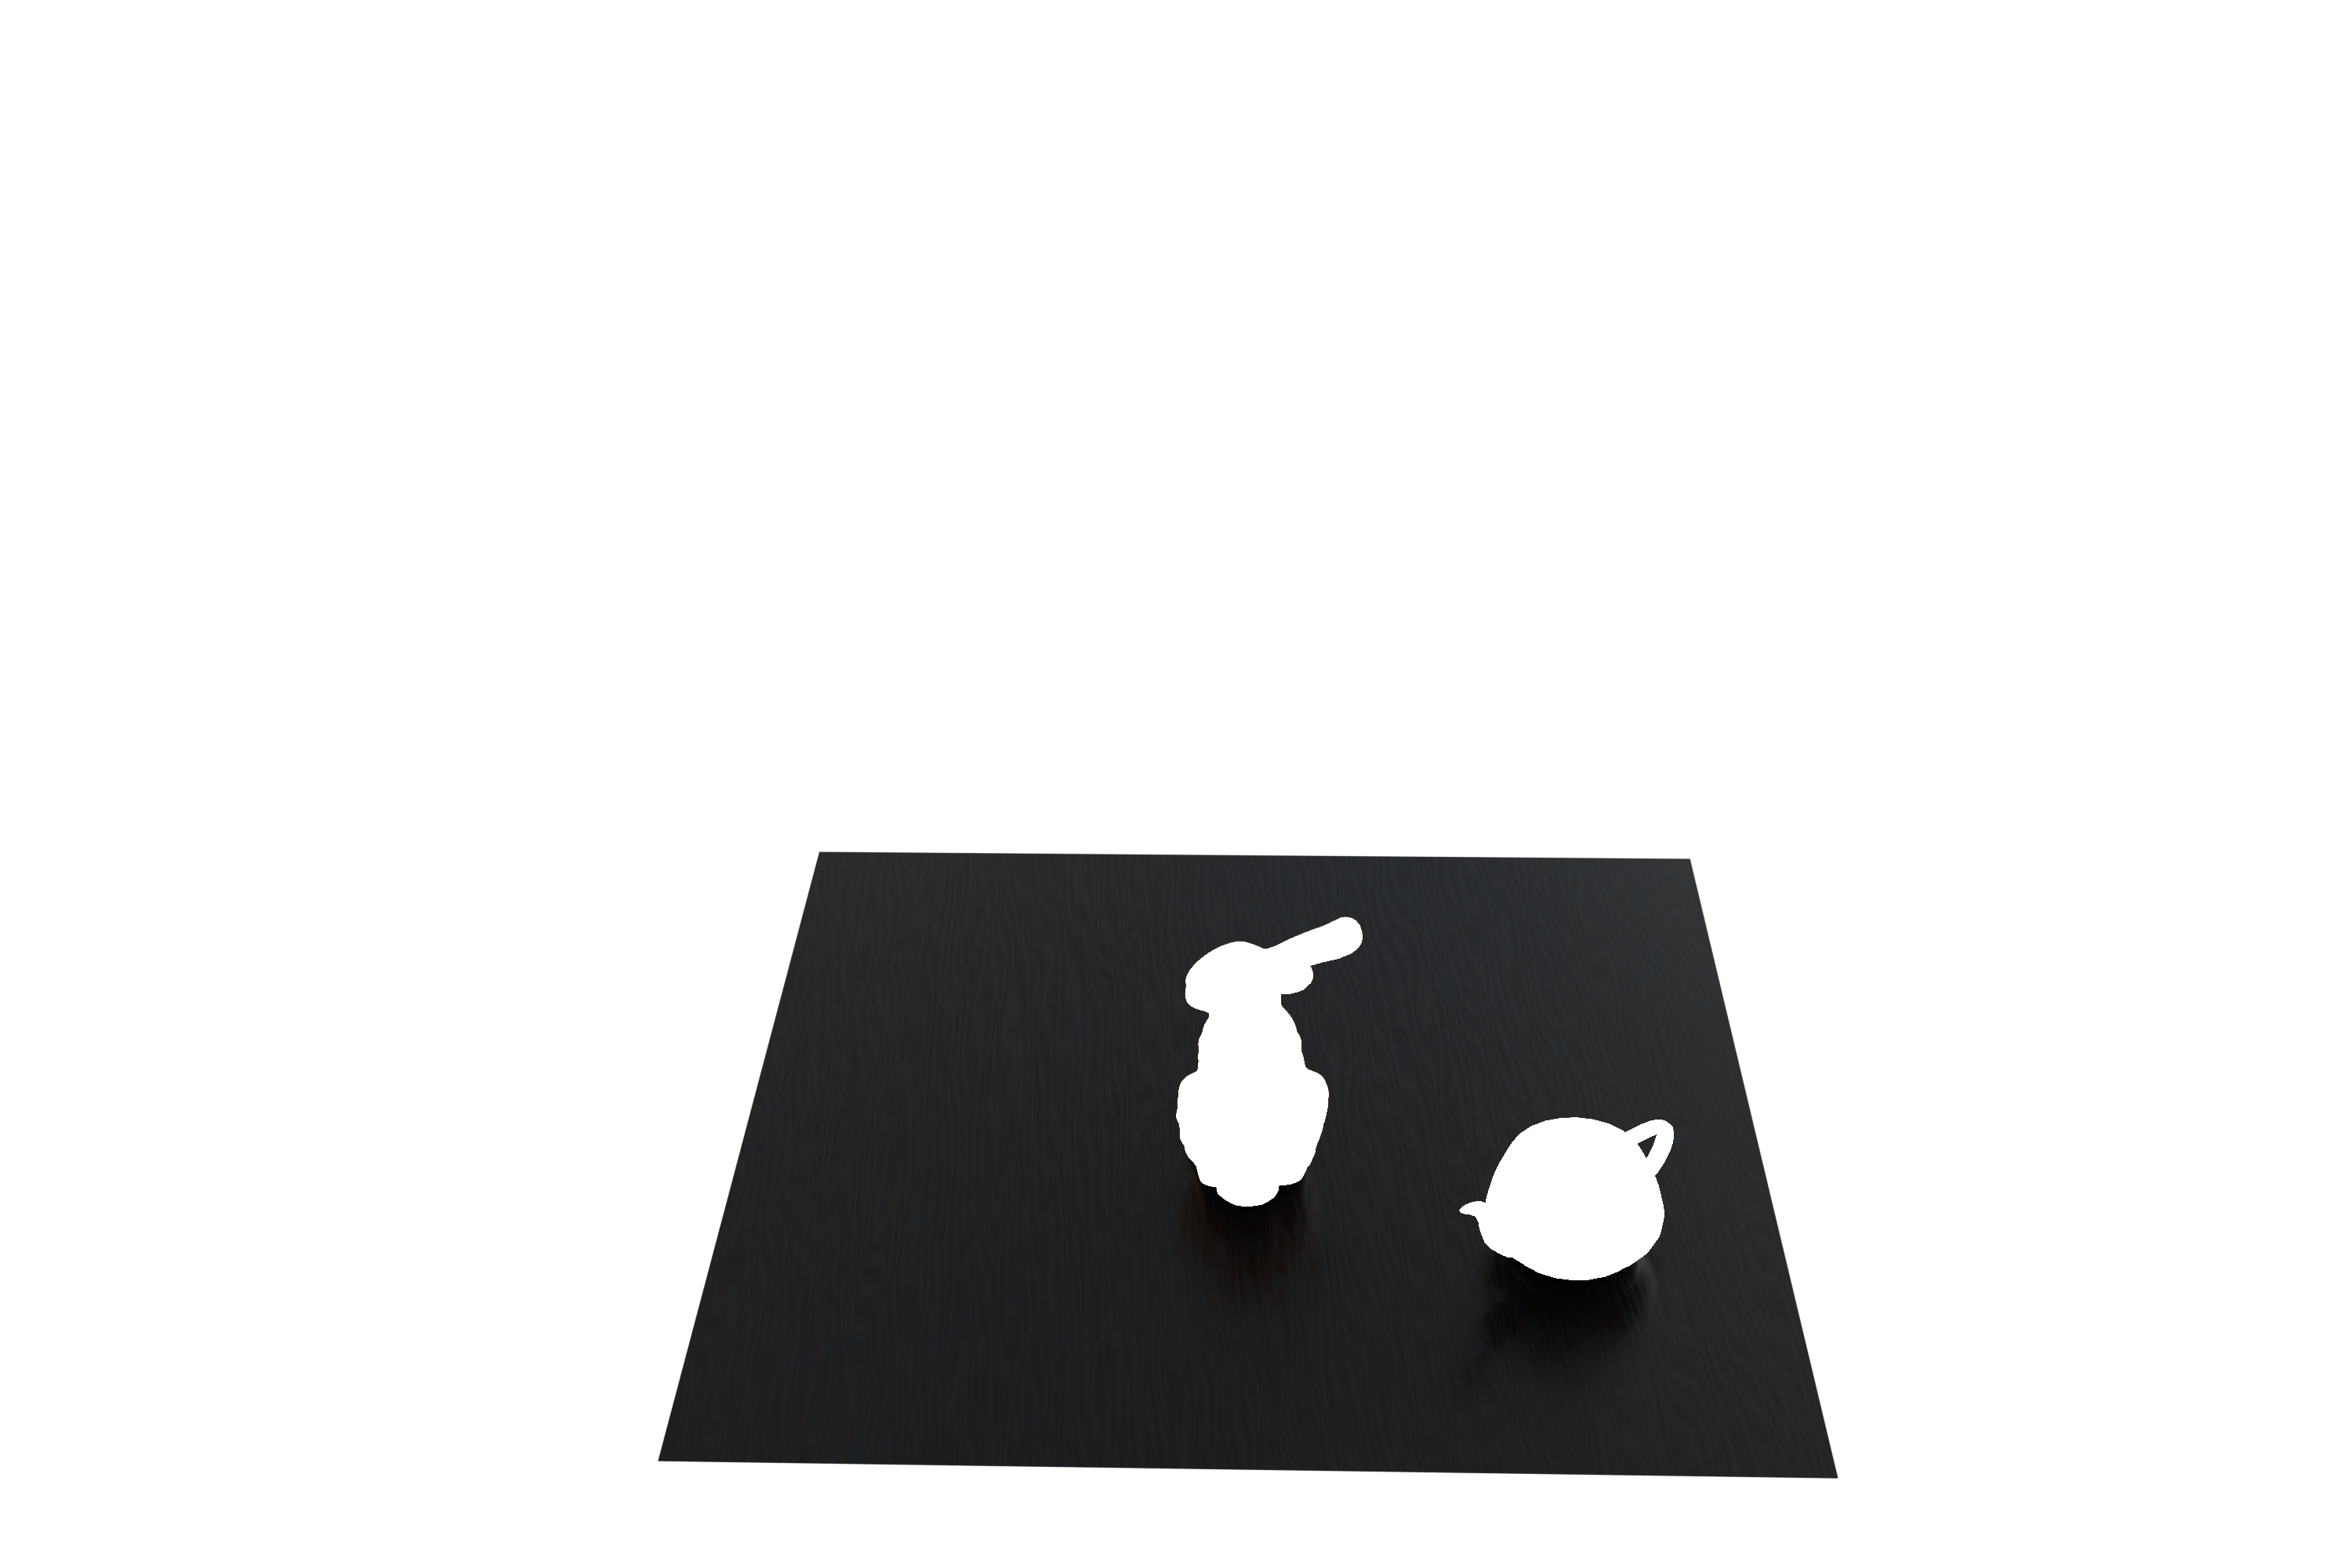
Next, we wanted to render the objects correctly for compositing. The first step in this process is defining a holdout below our synthetic objects. A holdout, as described in the paper, is just a plane below the object that captures the shadows falling onto it. This holdout is invisible to the camera, but not to the local scene. It is defined to exclude the rays of light that illuminate itself from the view of the camera.
Next, we estimate the BSDF of the holdout based on the context of the scene. Thus, the holdout will capture the shadows and light interaction between the synthetic objects and the surface that it lies on. When it came time to place the object into the scene, we experimented with two different methods:
Method 1: defining the property in the material itself. This method proved to be very difficult, since it is hard to exclude the object from the scene when there are reflections or other interactions that start with a ray interacting with the holdout first. As an example, consider the case where there is a reflection coming off of our holdout material. In this case, there is no easy way to know whether a ray hitting the holdout will be part of that reflection or not, as this is only known once the ray has bounced around in the scene. As a result, this method typically involves casting a shadow ray for generating interactions between our holdout and synthetic object. As a result, both reflections and shadows are captured, but come out in grayscale. This works fine for shadows, but not for reflections, which are not always grayscale.
Method 2: using rendering layers ("differential rendering"). In this method, the interaction between synthetic objects and the holdout is captured by simply taking the difference of the two renderings. One rendering has only the holdout rendered, and the other has the holdout and the synthetic object present. In the rendering with the synthetic objects, we mask out the objects in order to obtain just their effect on the holdout. Then we subtract these two layers from eachother, getting the change in value that defines the interaction between synthetic objects and the holdout. Thus, we can impose this interaction to the image we are compositing on by just adding it to the image. Sometimes, this method results in negative values which cannot be properly stored in an image, Thus, an alternative approach is to divide the two layers and multiply onto the compositing image, which solves the problem and yields the correct result.
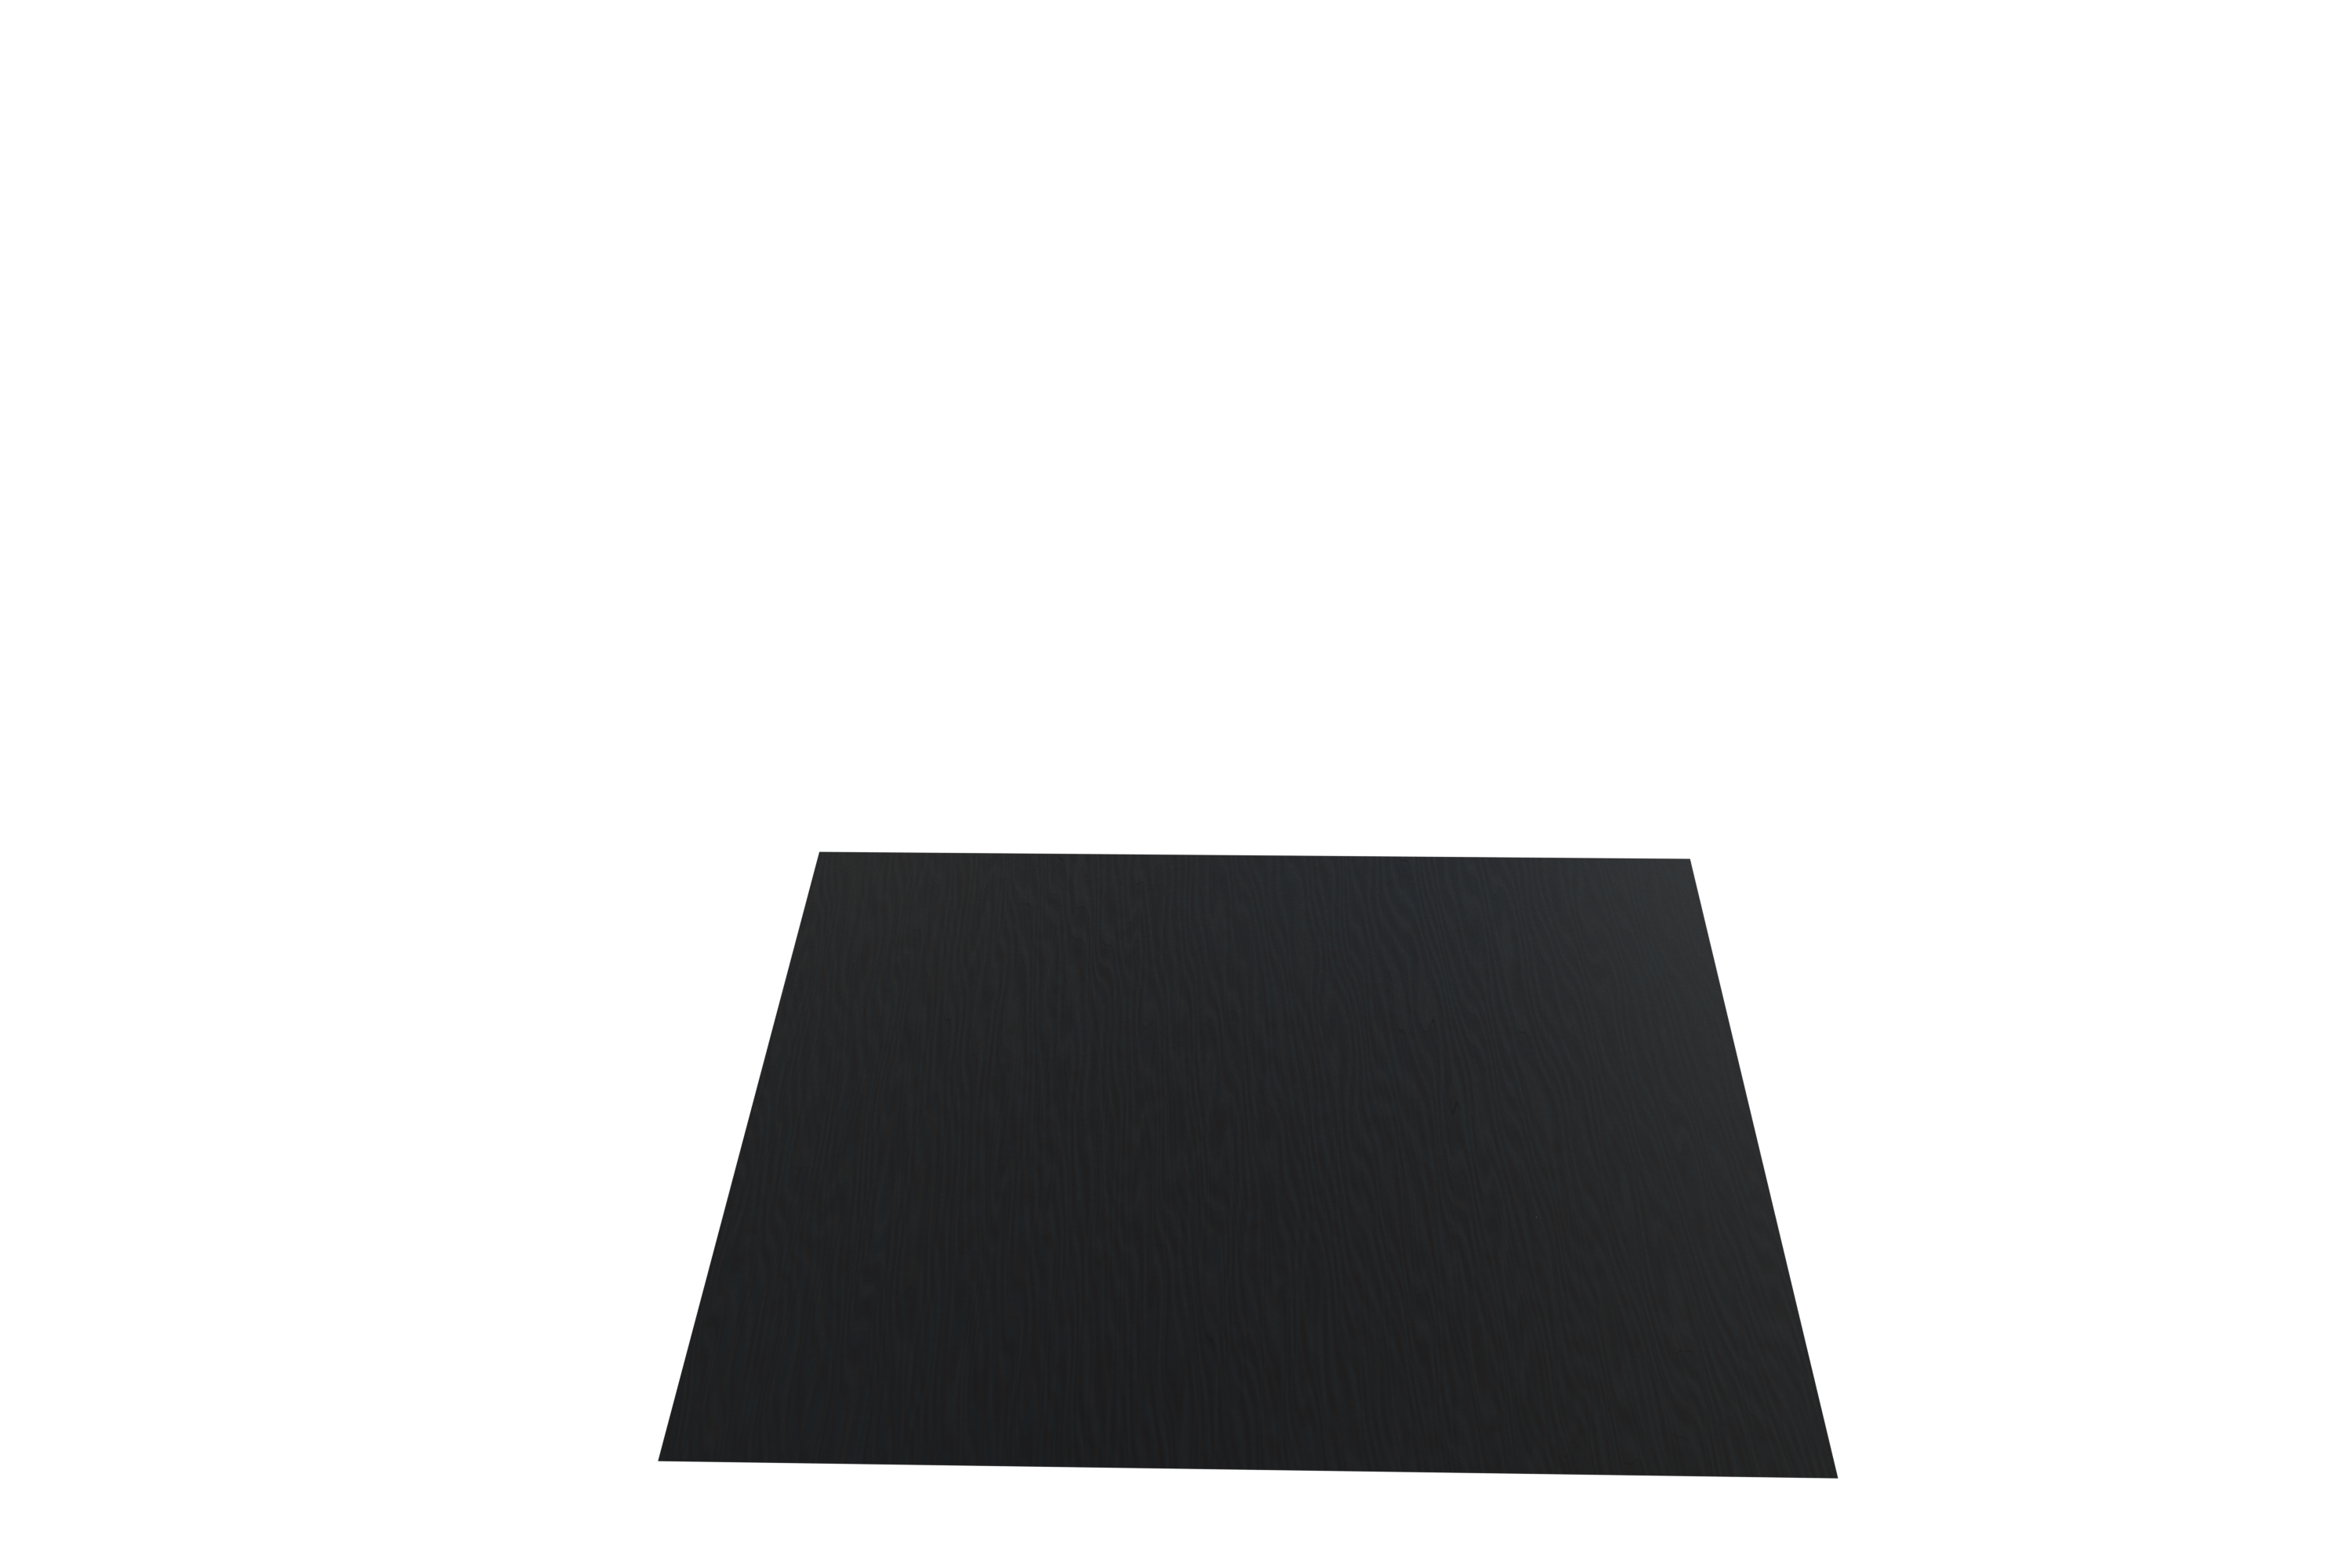
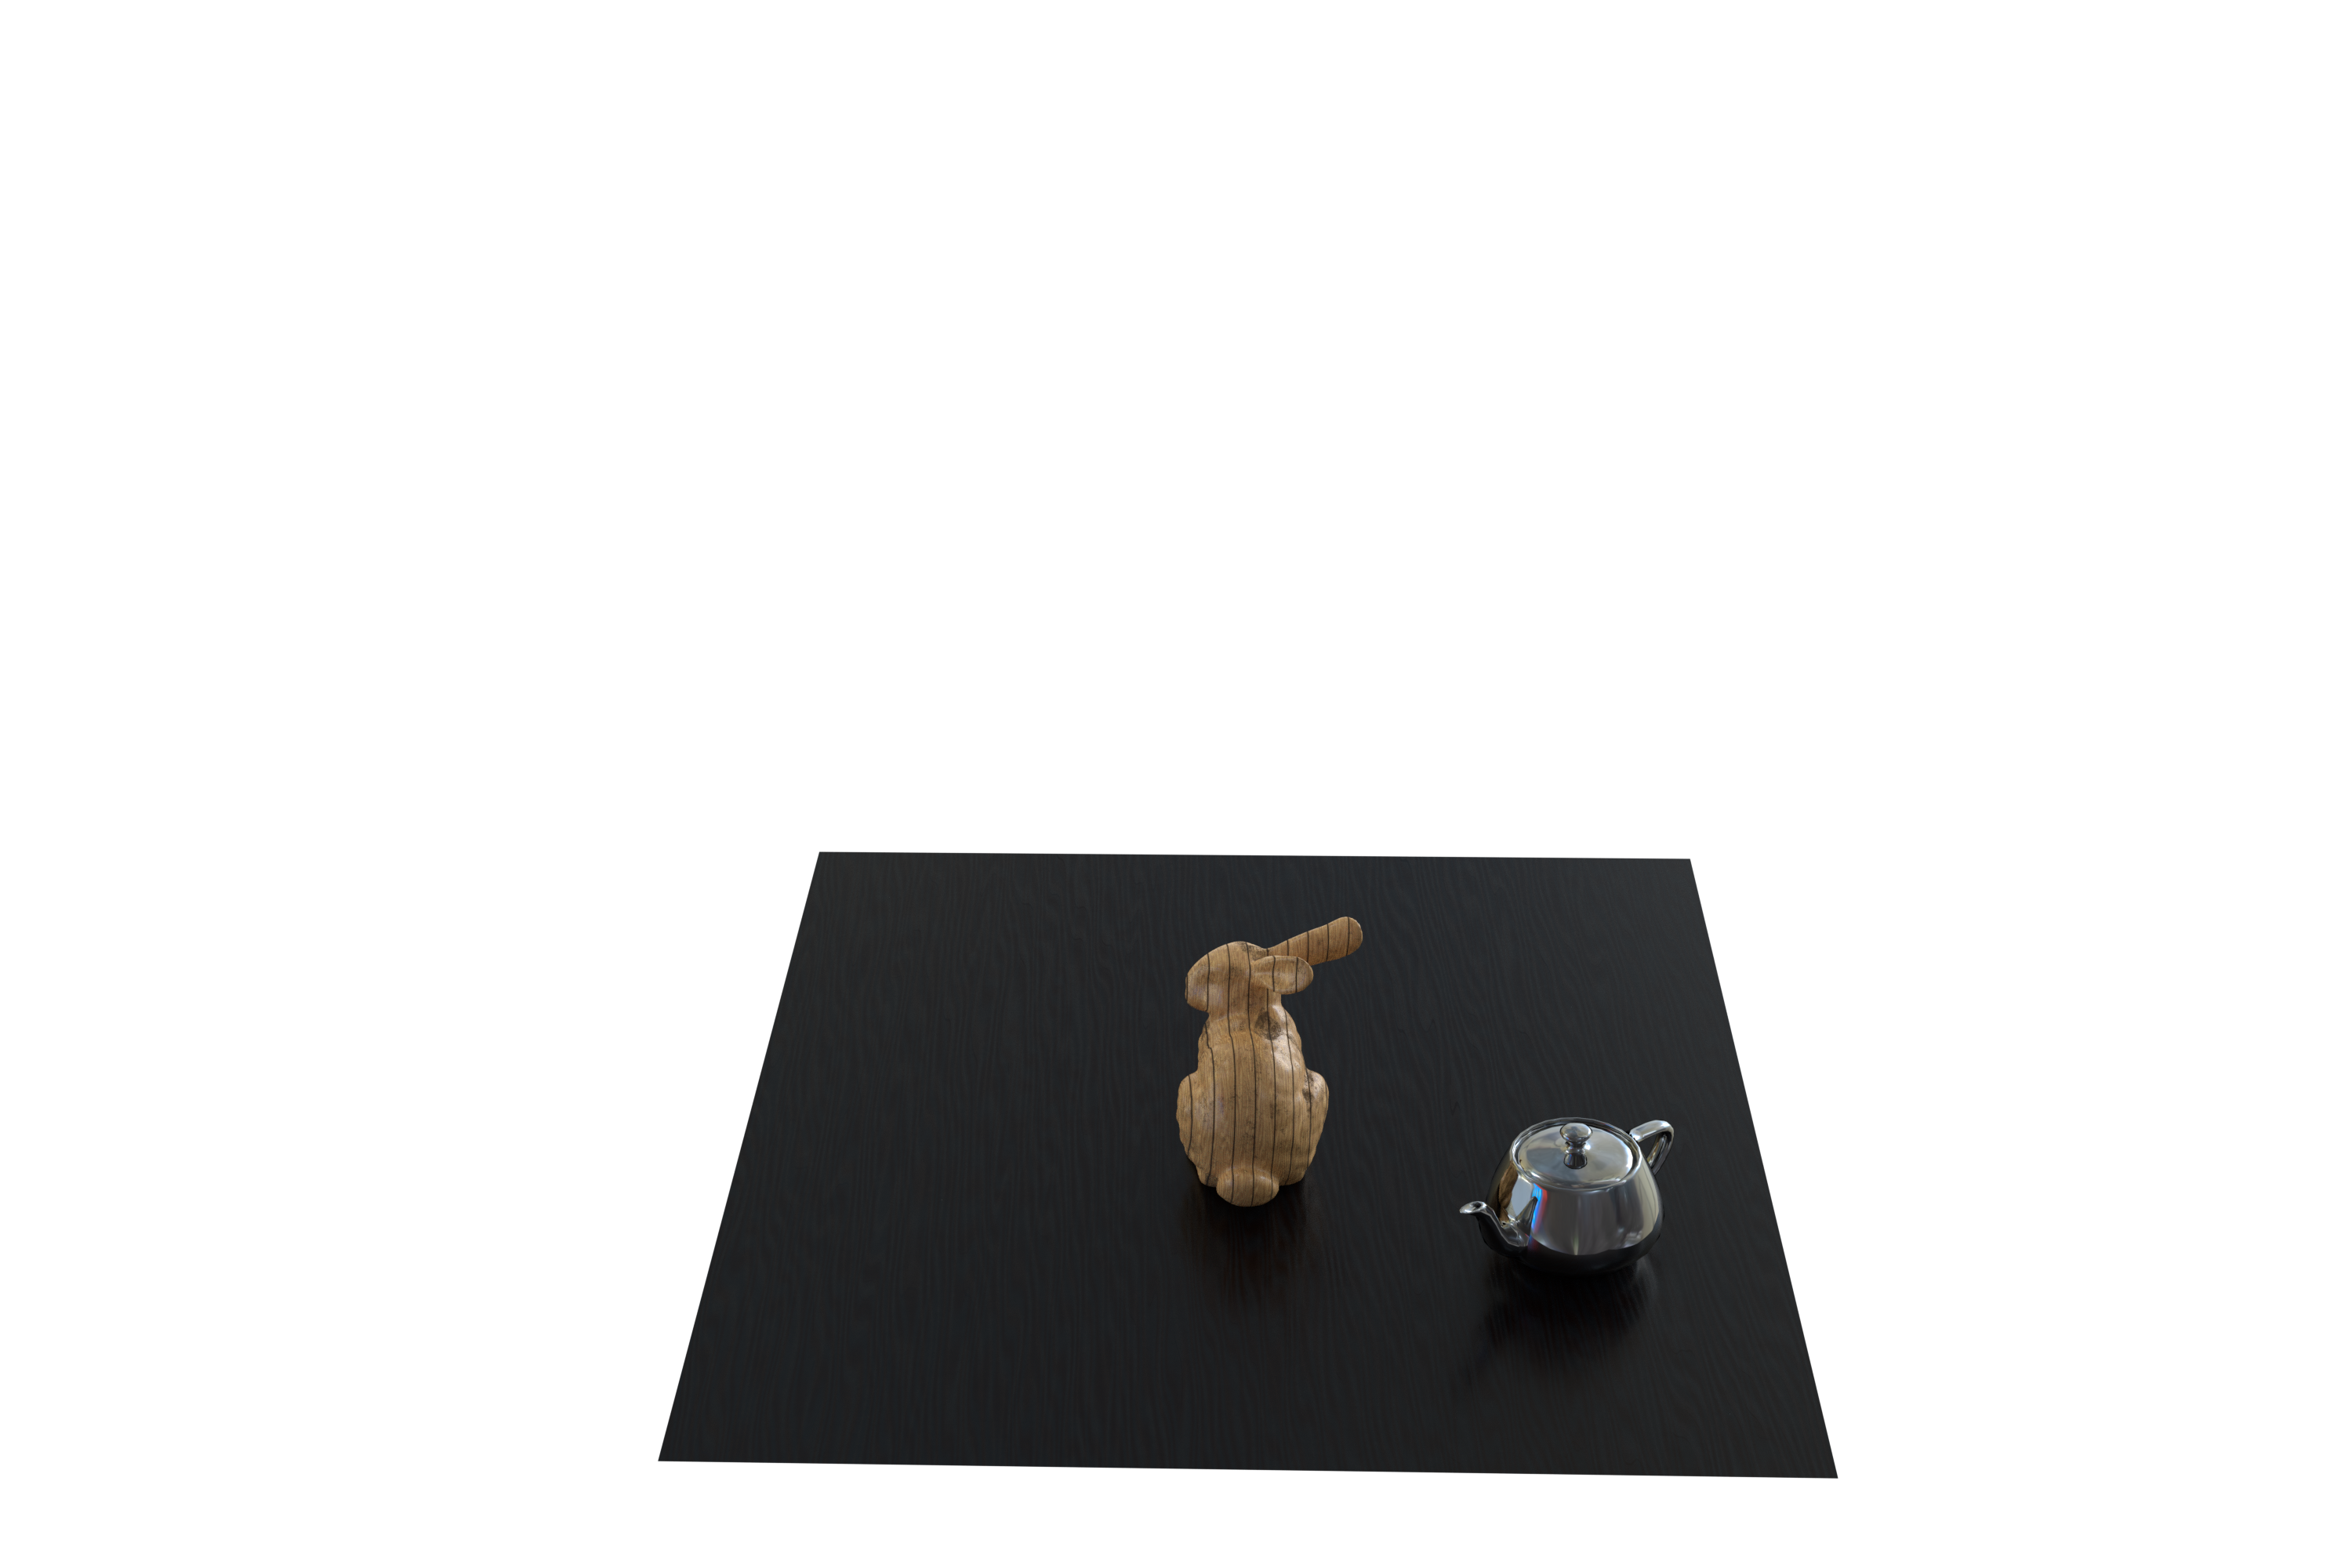
The following images show the render at different stages:
|
|

|
|
Results
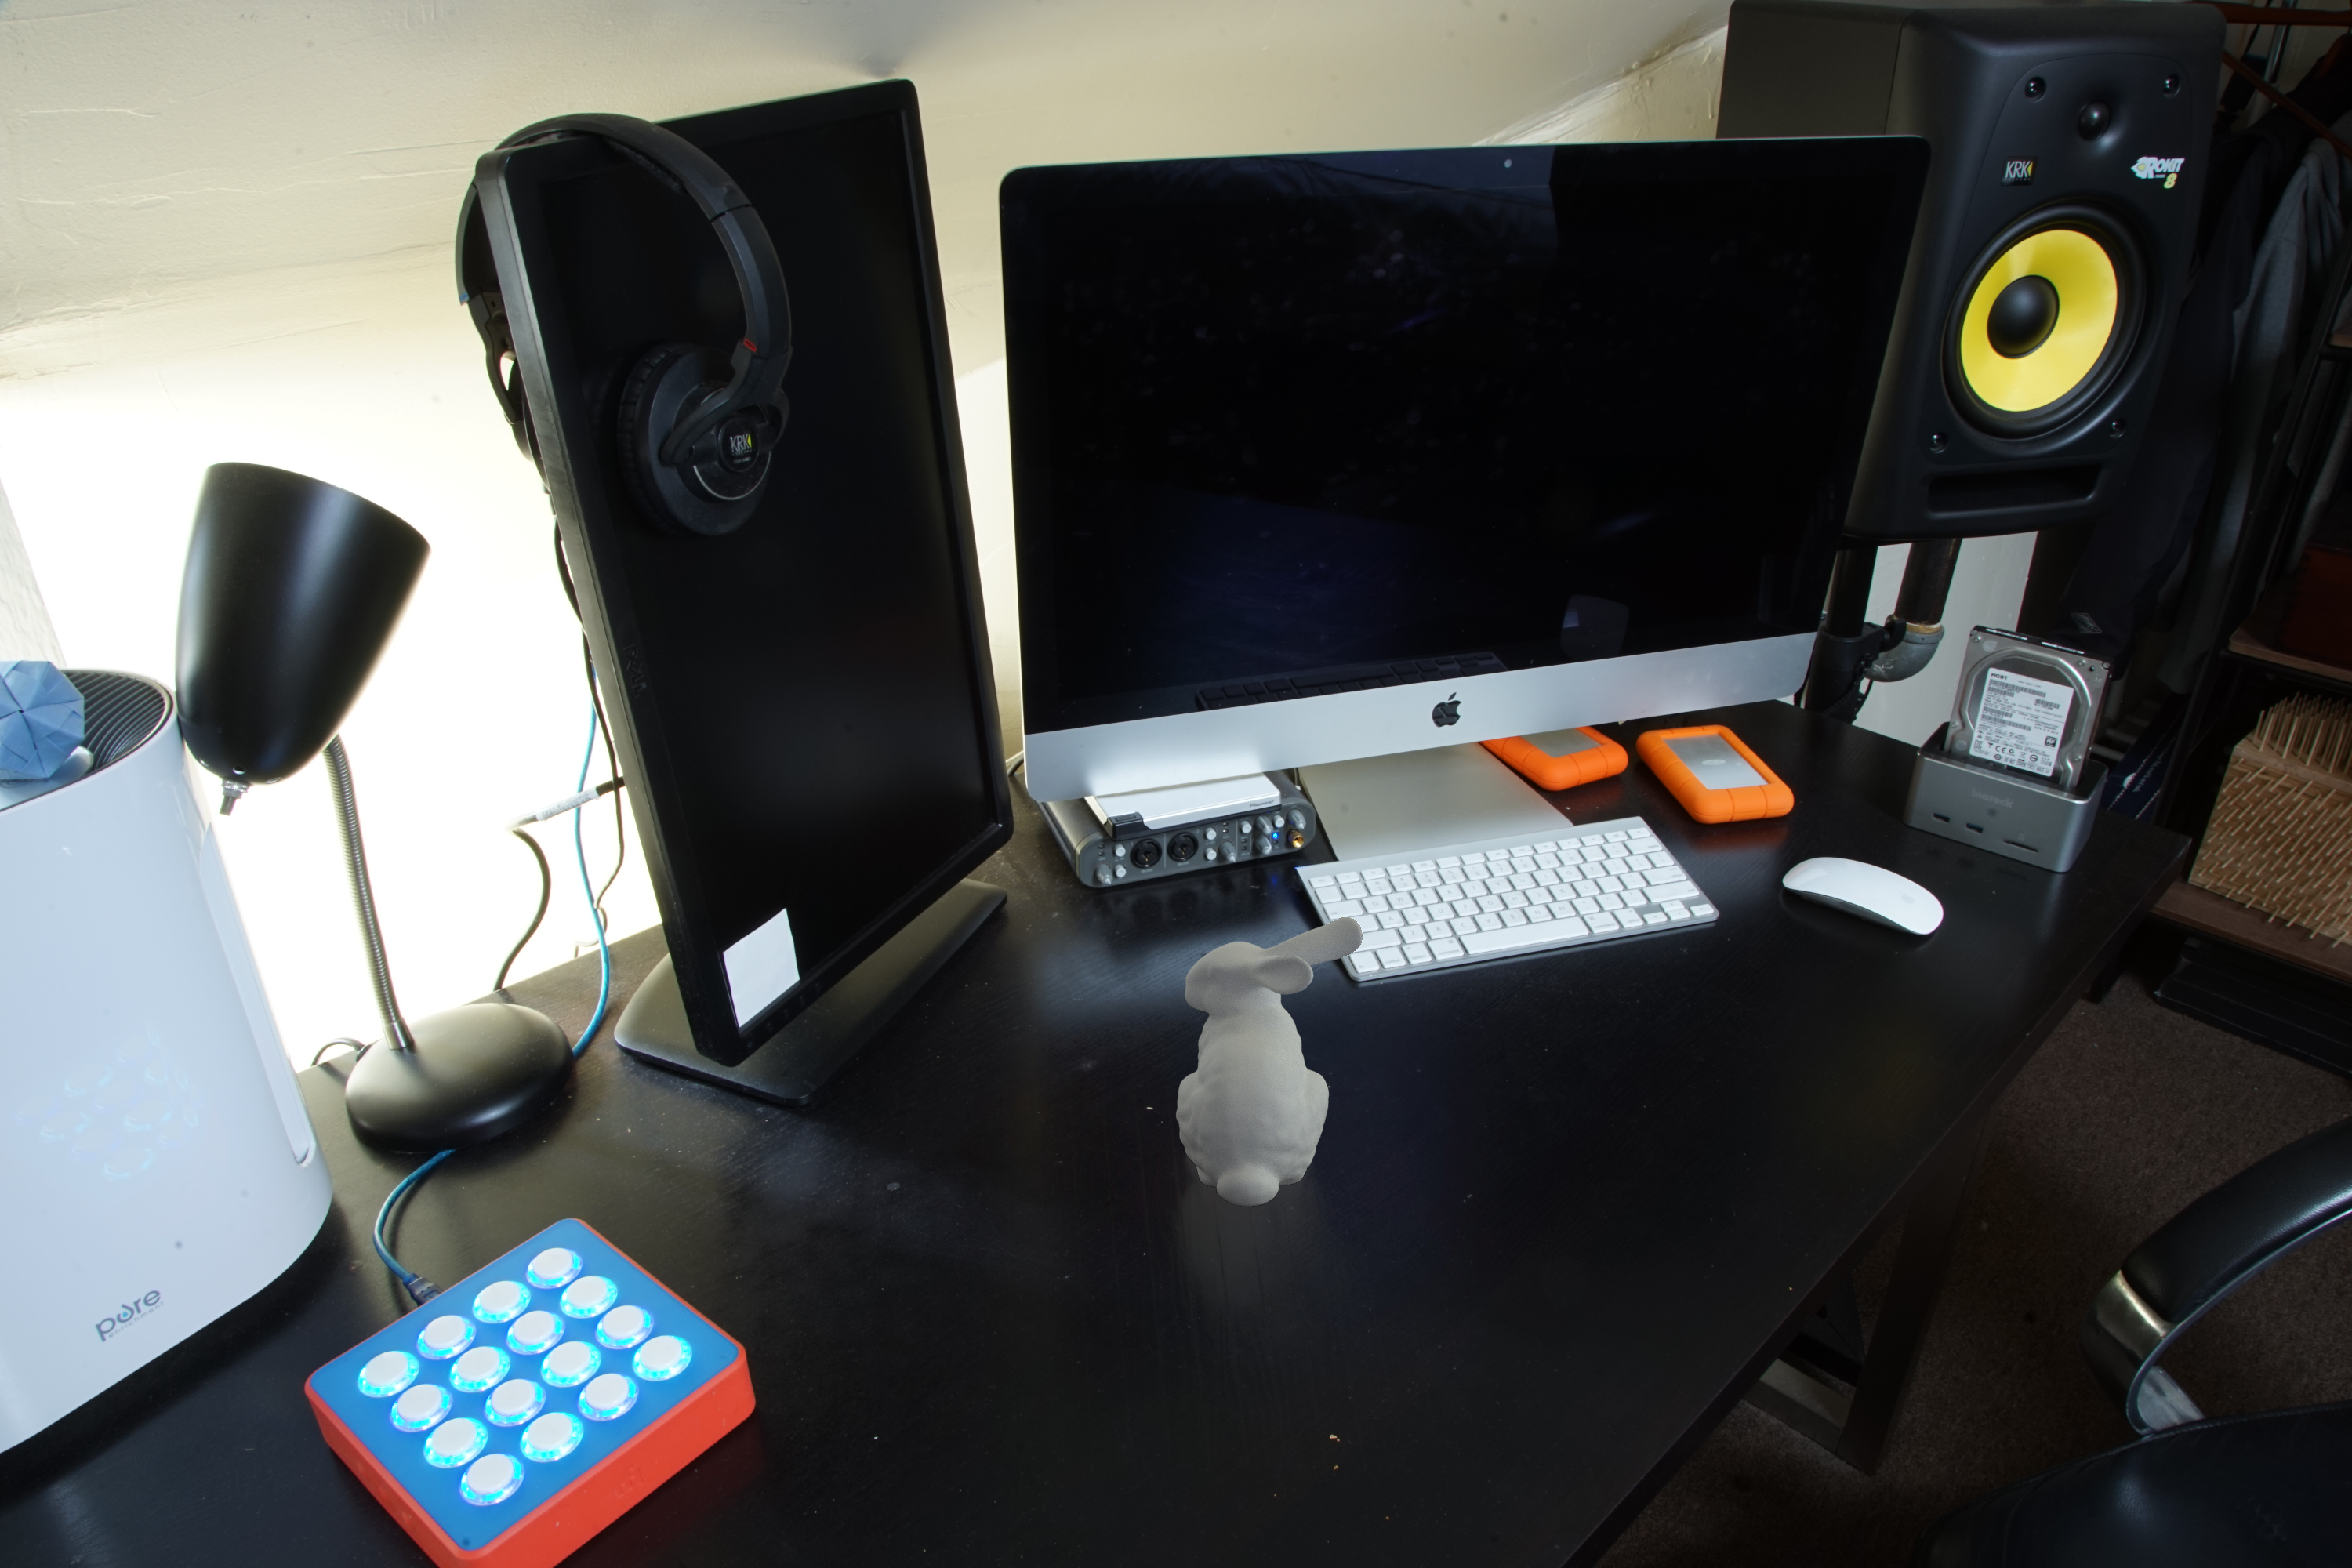
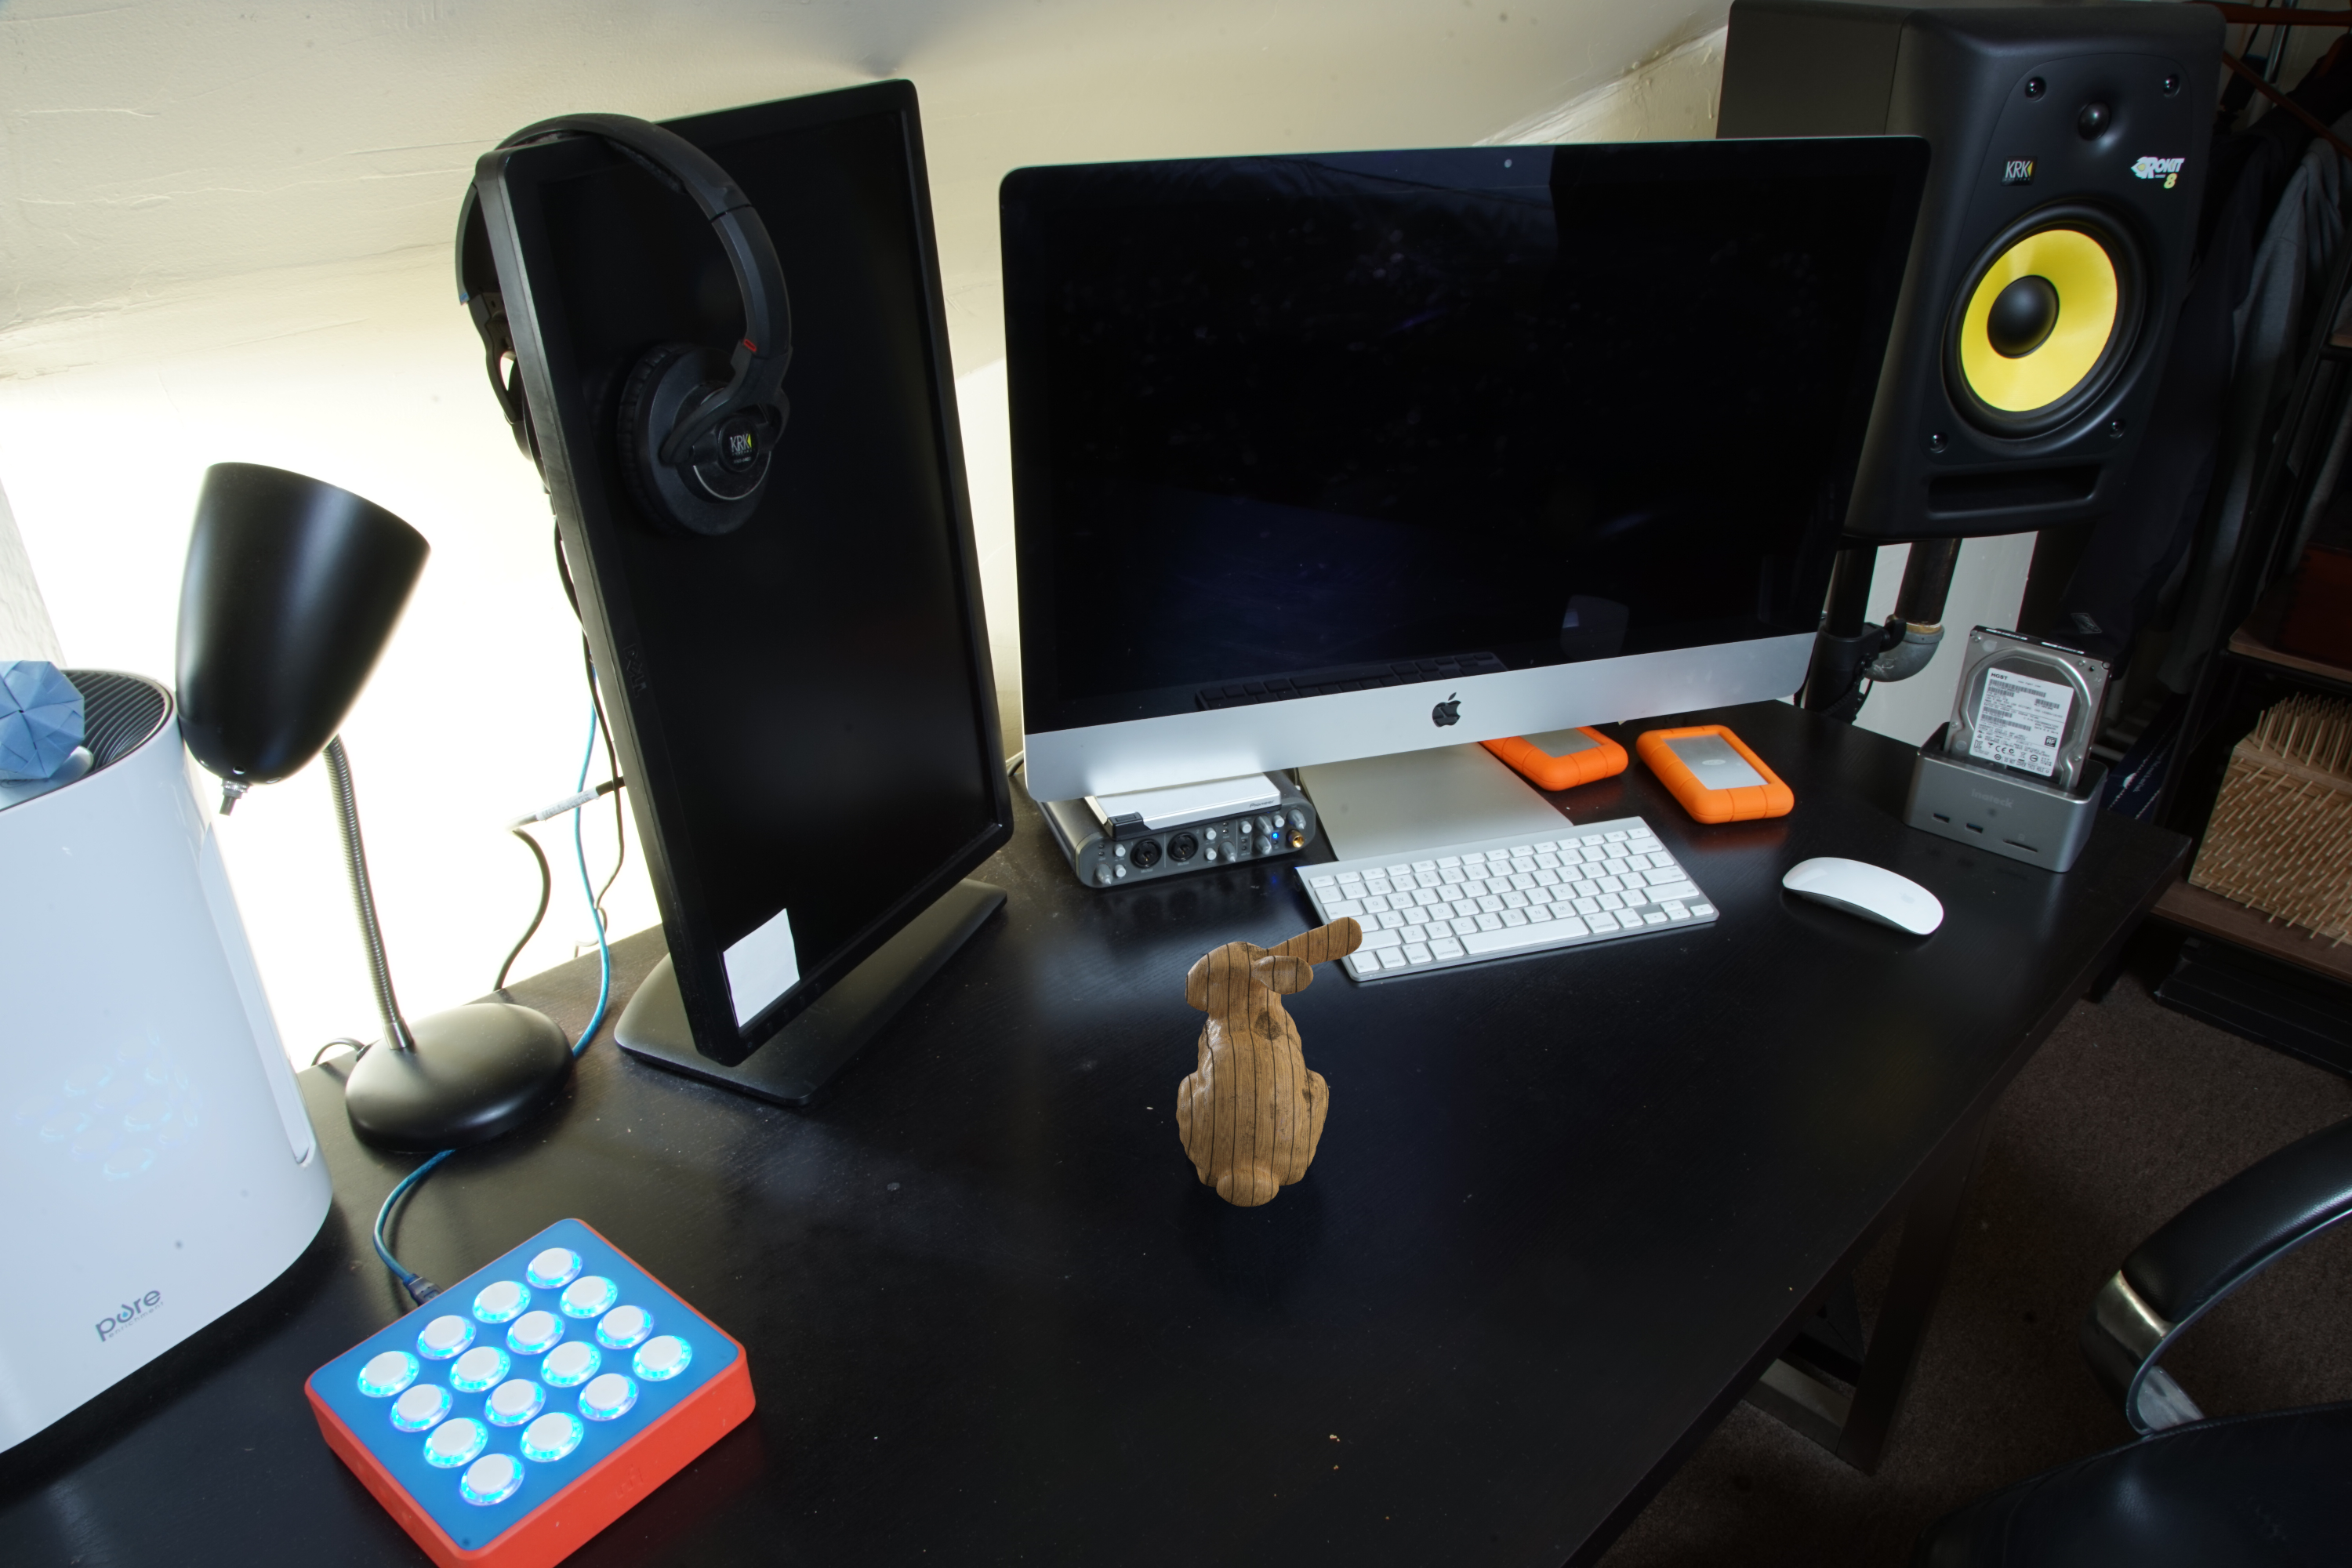
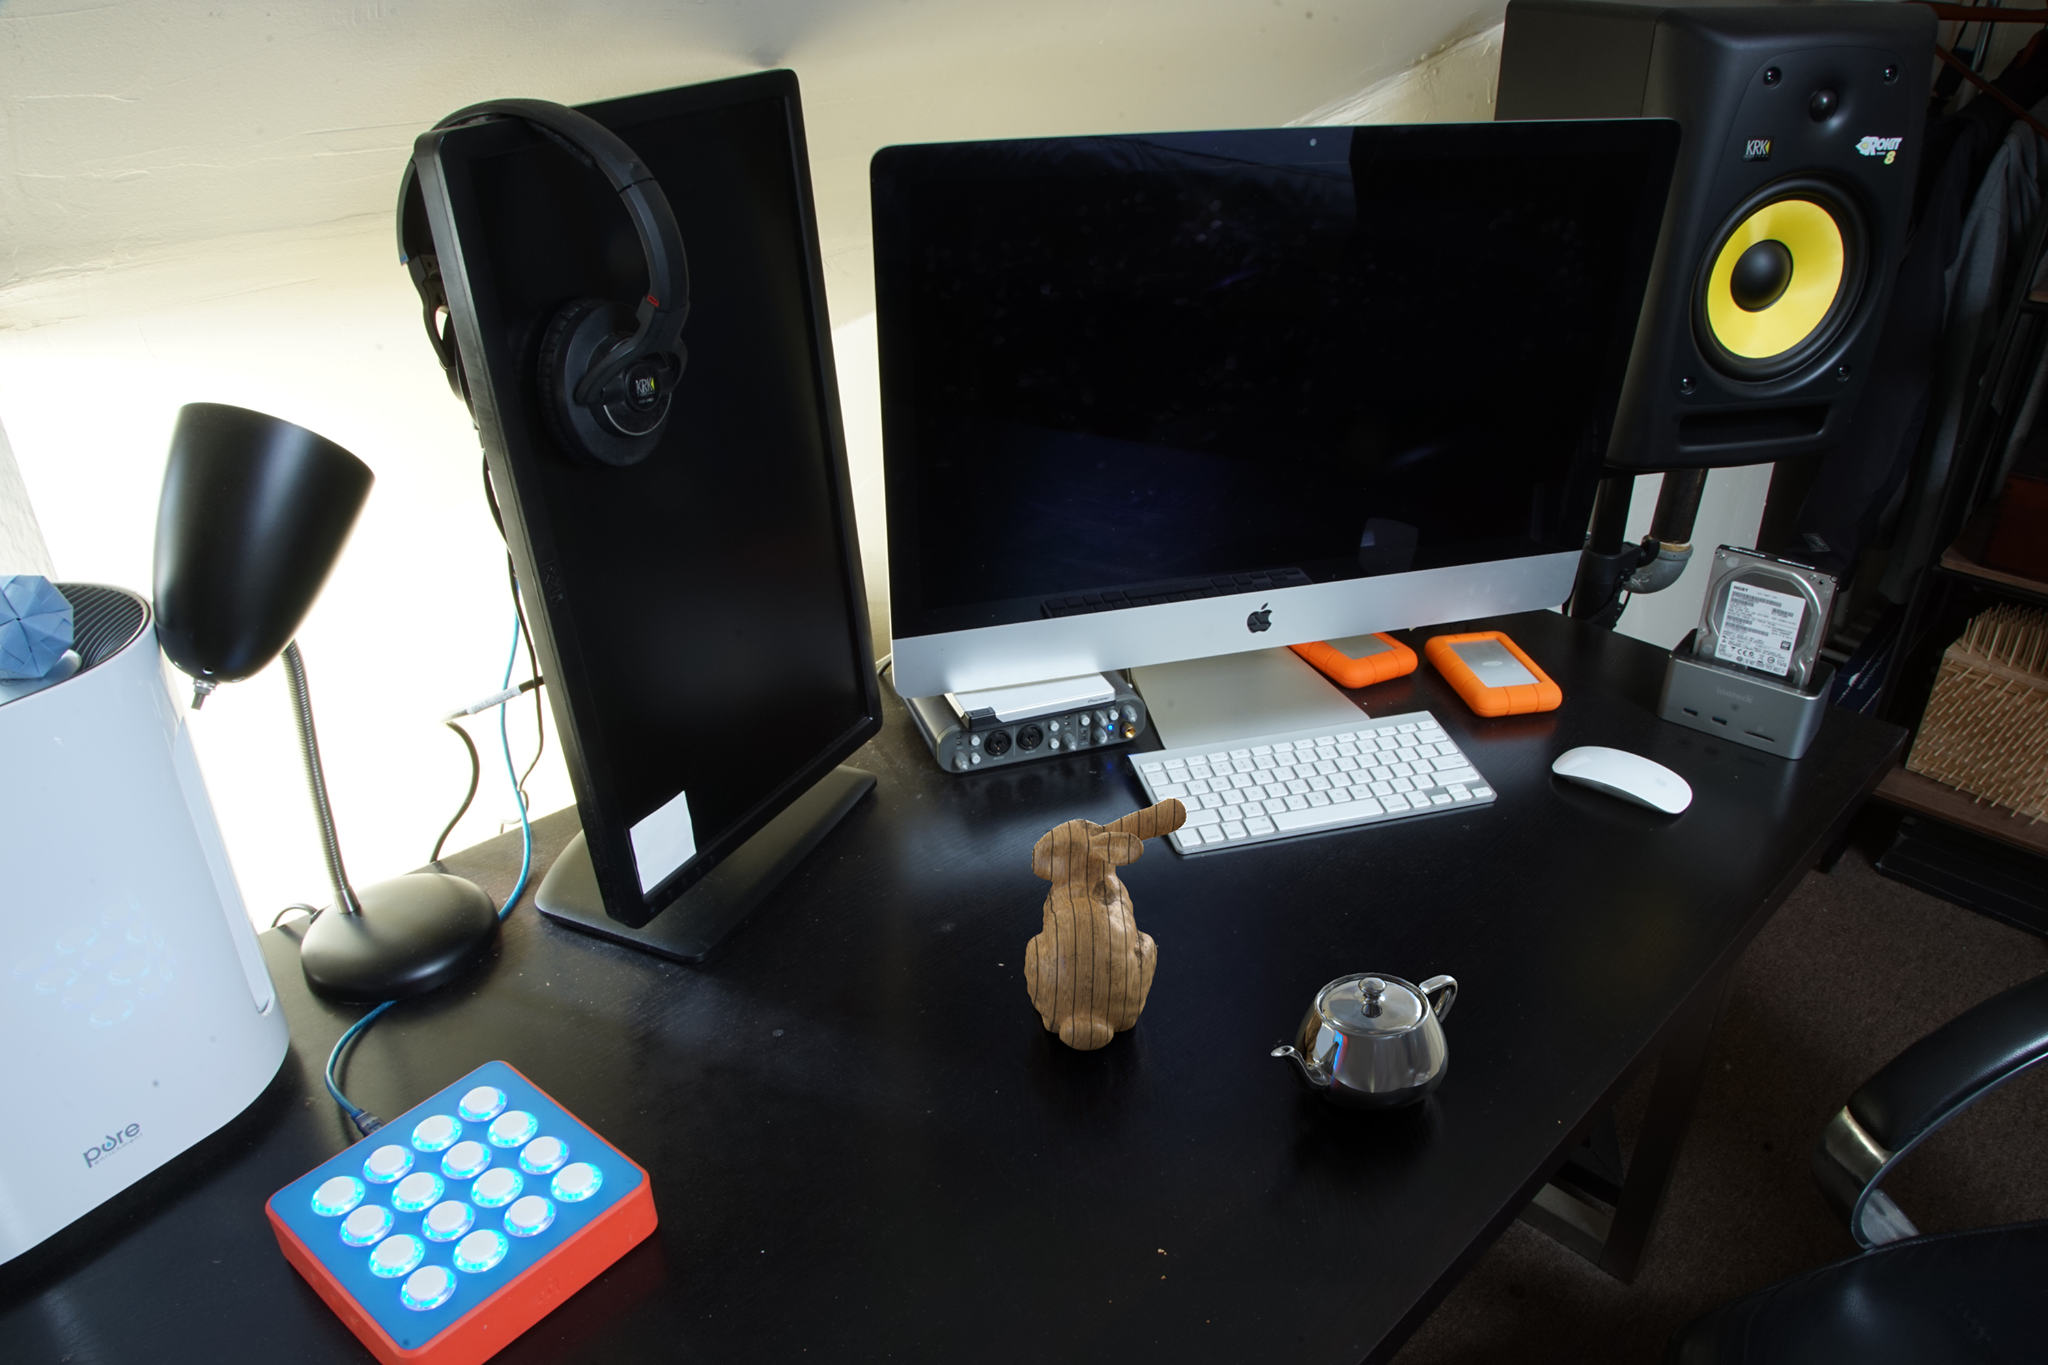
By the date of the final project showcase, we were able to attain some very exciting results. We had multiple renders of the same original scene with different models placed into them. For the model, we used the bunny mesh provided in project 3, and played around with different materials and colors for it. Results can be seen below as well as in the video demonstration and in the slides linked.
Image 1: the original scene

|
|
|
|
Slides: here
Video: here
Code: here
References
E. Debevec, P. (1998). Rendering synthetic objects into real scenes: Bridging traditional and image-based graphics with global illumination and high dynamic range photography. Proc. ACM SIGGRAPH 98, M. Cohen, Ed.
Contributions
Frankie Eder: took HDR images, wrote camera calibration code, made checkpoint powerpoint slides.
Jules Ahmar: helped with environment map creation, assisted on various issues throughout the rendering process, wrote checkpoint web writeup, created final presentation slides, created final presentation video, wrote final web writeup.
Nathan Petreaca: spearheaded experimenting with the two different rendering methods, spent many hours perfecting the end result, helped with environment map creation, created checkpoint video.
Overall, we were able to find a way to break up the work that we all felt was fair. The work experience was a positive one for everyone in the group.